Rubber Gym Floor Repair Services Overview
Visitors will learn about Rubber Gym Floor Repair services and how local contractors can assist with their flooring needs.
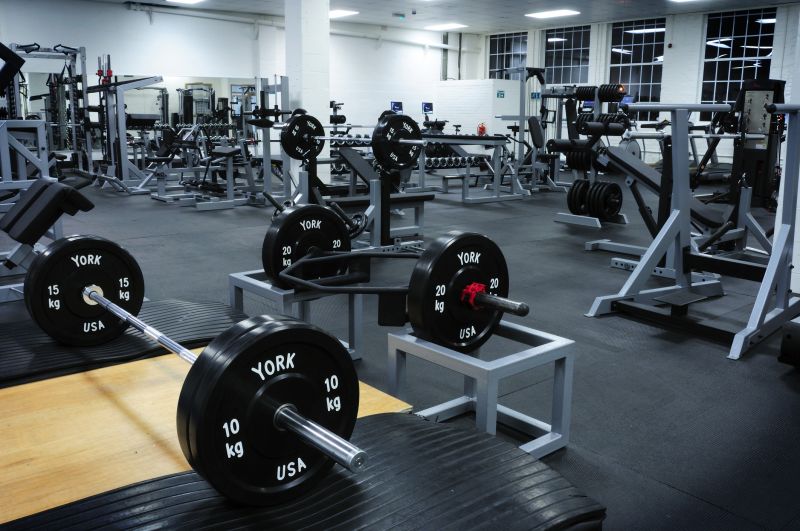
- - Commercial property owners seeking durable rubber gym flooring repairs for fitness centers and gyms.
- - School and recreational facility managers needing reliable solutions for gym floor restoration and maintenance.
- - Fitness and training centers looking to connect with local contractors experienced in rubber gym floor repair services.
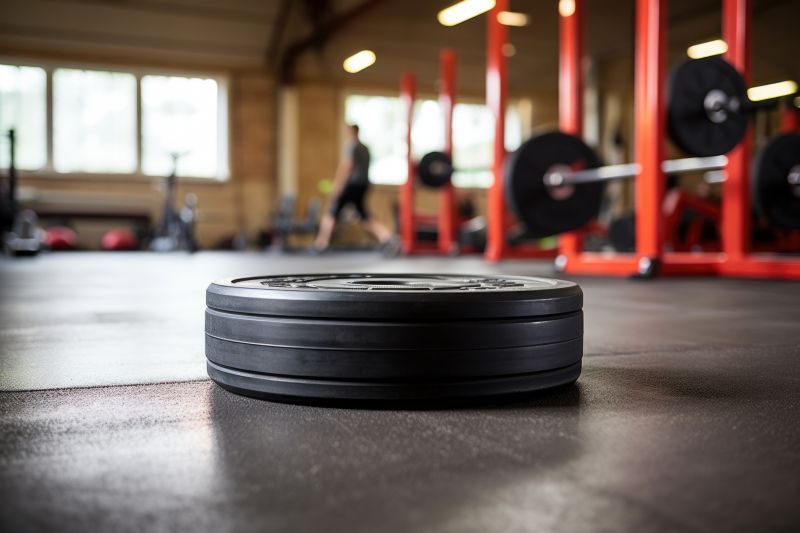
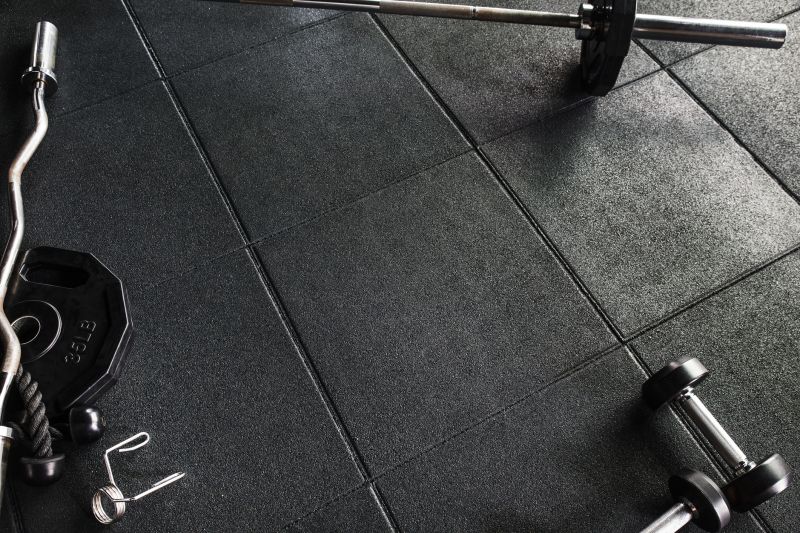
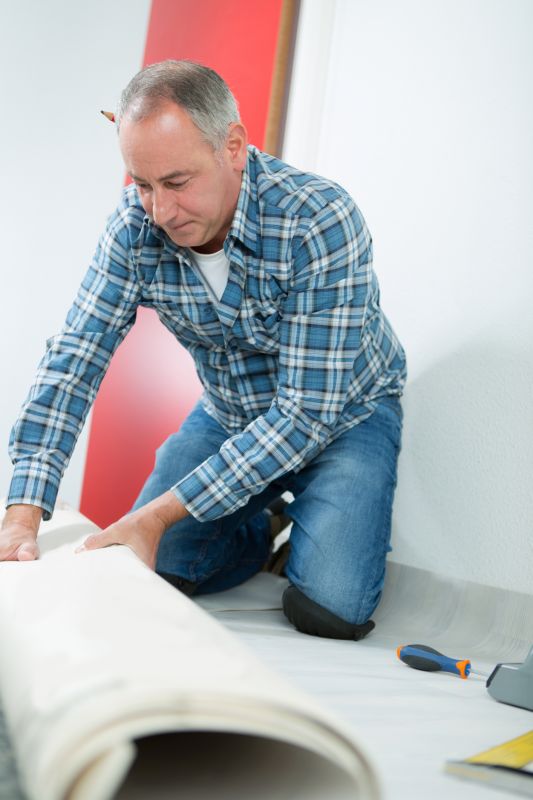
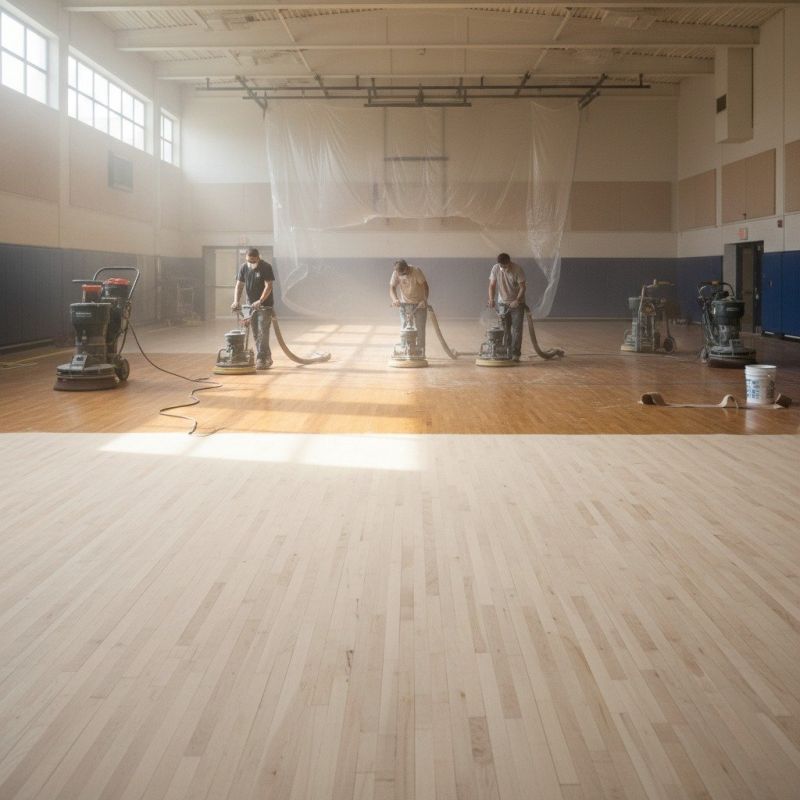
Rubber gym floor repair services are essential for maintaining safe, functional workout spaces in commercial, institutional, and residential settings. When rubber flooring becomes damaged-whether from heavy equipment, high traffic, or wear and tear-local contractors who specialize in gym floor repairs can assess the condition and recommend appropriate solutions. These professionals typically handle tasks such as patching, sealing, and replacing sections of rubber flooring to restore its durability and appearance, helping property owners keep their fitness areas safe and operational.
Finding experienced service providers in the area can make a significant difference in the quality and longevity of rubber gym floor repairs. Local contractors often have the knowledge of specific flooring types and installation techniques, ensuring repairs are performed correctly. Property owners seeking these services can expect to connect with specialists who understand the demands of gym environments and can perform repairs that meet the needs of their space, whether it involves small fixes or extensive restoration work.
This guide provides helpful information to understand rubber gym floor repair needs and project considerations. It assists in comparing local contractors and connecting with experienced service providers. The content aims to prepare visitors with the basics needed to discuss their repair projects confidently.